We’ve all been there… Make a Linux VM, the disk is too small… Arggh! I come from a Windows world where a disk resize is a click away in Disk Management, and so this scenario in a Linux OS has always filled me with dread, especially as there is no GUI. And, a google for a reliable disk resize command (not to mention the disk format in use!) always suggests using parted or a some weirdo custom voodoo. I really can’t have any confidence doing something like that on critical data (okay, random github pulls) without sweating it out on each command.
So, for my own records, this is the basic scenario on resizing the main OS disk in Ubuntu. To begin, create a VM and disk in ESXi (or Virtualbox etc…) and make it small. This one is 8GB.
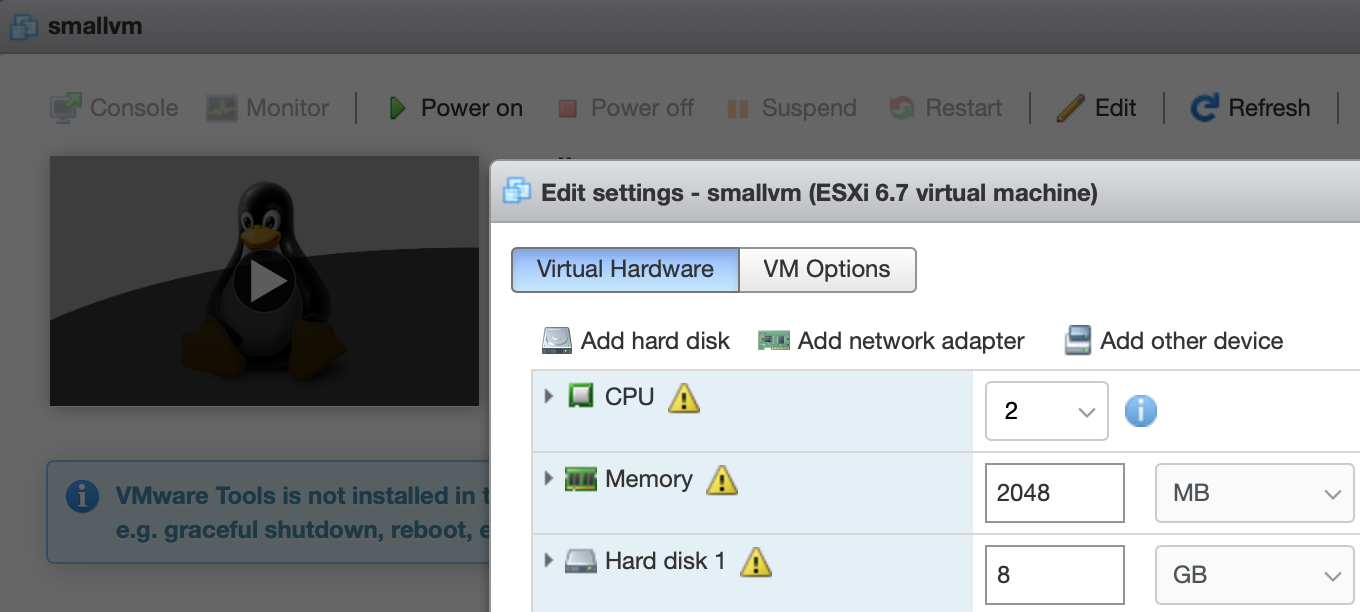
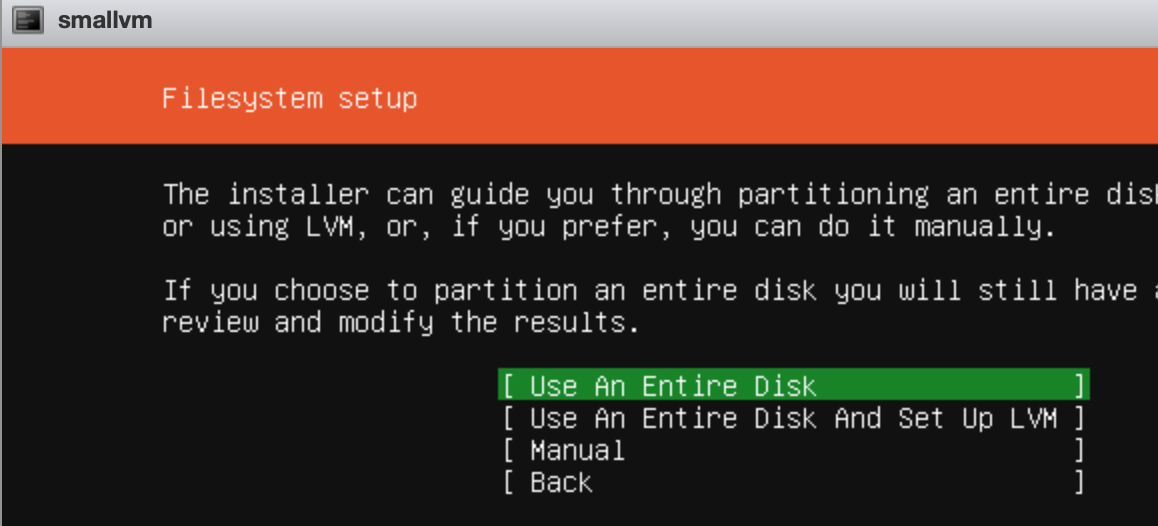
Install the OS (Ubuntu 18.04 LTS in this example) and then get ready to go.
Disclaimer: Not sure if this tutorial it will work with LVM, chose this default.
And check the disk space…
iain@smallvm:~$ df -h
Filesystem      Size  Used Avail Use% Mounted on
udev            463M     0  463M   0% /dev
tmpfs            99M  2.3M   97M   3% /run
/dev/sda2       7.9G  3.4G  4.1G  46% /
tmpfs           493M     0  493M   0% /dev/shm
tmpfs           5.0M     0  5.0M   0% /run/lock
tmpfs           493M     0  493M   0% /sys/fs/cgroup
/dev/loop0       89M   89M     0 100% /snap/core/7270
tmpfs            99M     0   99M   0% /run/user/1000
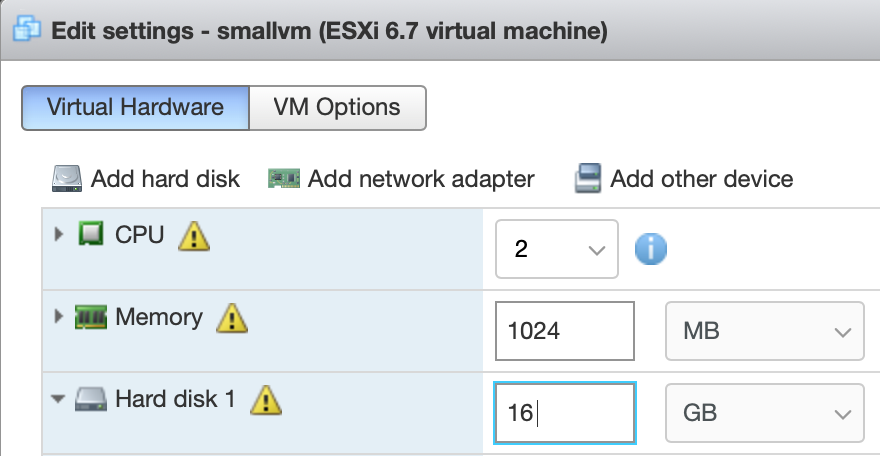
Maybe we should get some more space. Power if off.
Then, increase the disk space in ESXi (and remove any snapshots you have or this will fail)
Then, login and run this;
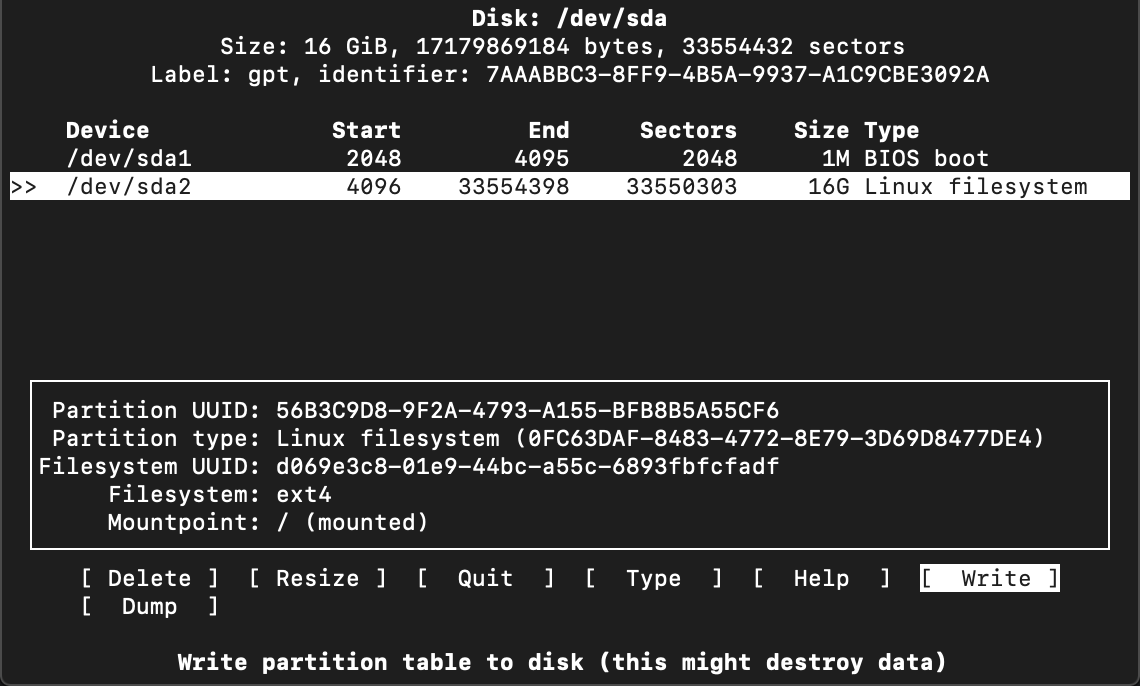
sudo cfdisk
Notice above the partition we want to resize is actually /dev/sda2 so choose that in the menu and resize as the option.
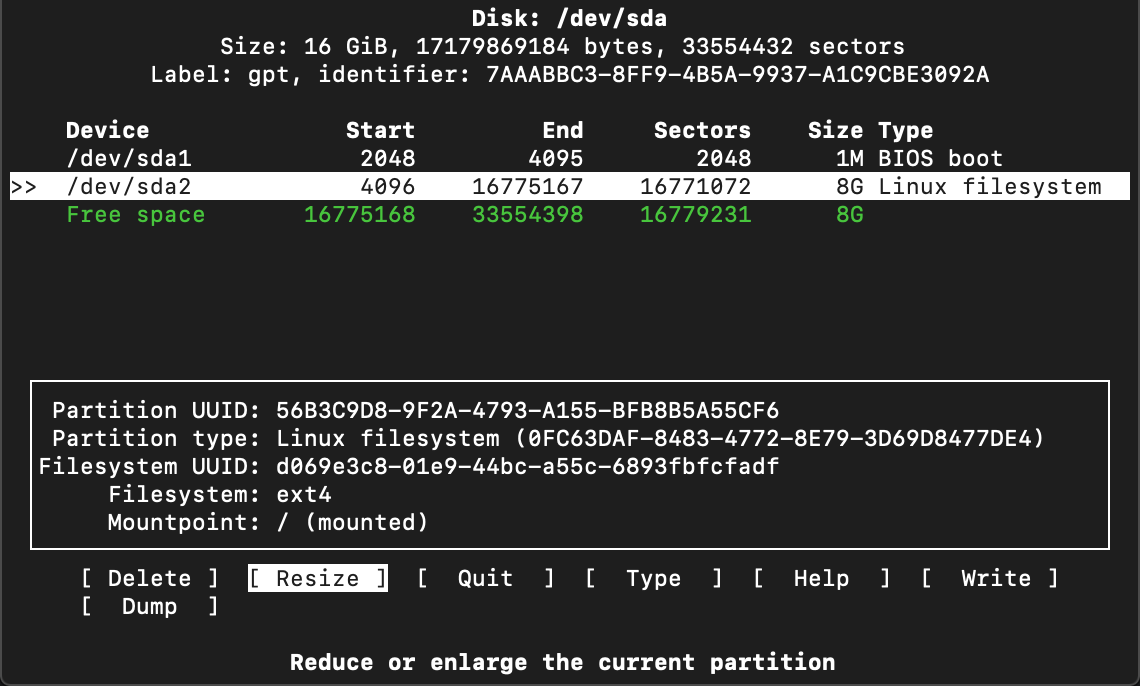
It should realise there is now 16GB available so it will fin that in for us. Hit enter and accept that.

It will say the partition has been resized. Choose to write the change, type yes and then quit the program.
Now, all we have done is increase the size of the partition but the filesystem doesn’t know it can use this yet (output from a df -h.
iain@smallvm:~$ df -h
Filesystem      Size  Used Avail Use% Mounted on
...
/dev/sda2       7.9G  3.4G  4.1G  46% /
...
So, we have to let it use this space. Run this command (again, change /dev/sda2 if yours is different)
sudo resize2fs /dev/sda2
After that we should have an expanded disk. Success! No more over-specifying disk because resizing a linux disk is a dark art 🙂
iain@smallvm:~$ sudo resize2fs /dev/sda2
resize2fs 1.44.1 (24-Mar-2018)
Filesystem at /dev/sda2 is mounted on /; on-line resizing required
old_desc_blocks = 1, new_desc_blocks = 2
The filesystem on /dev/sda2 is now 4193787 (4k) blocks long.

iain@smallvm:~$ df -h
Filesystem Size Used Avail Use% Mounted on
...
/dev/sda2 16G 3.4G 12G 23% /
...
ADDENDUM
If you have another EXT4 disk mounted that you need to resize, do this.
Create a disk like this;
sudo fdisk /dev/sdb (make partition)
mkfs -t ext4 /dev/sdb1 (make ext4)
mkdir /u01
mount /dev/sdb1 /u01
Then, if you increase the space, this will expand it on the OS
| Operation | Command |
|---|---|
| Unmount the disk | umount /u01 |
| Check it is removed on filesystem | df -h |
| Amend partition | fdisk /dev/sdb |
| Delete that partition | d |
| Recreate the partition with new limits | n, p, 1, defaults, w |
| Check Disk not mounted, unmount if so | df -h, umount /u01 |
| Check with e2fsck (required before resize2fs resize) | e2fsck -f /dev/sdb1 |
| Resize | resize2fs /dev/sdb1 |
| Remount or reboot | mount /dev/sdb1 /u01 |